
If you’ve ever wondered how LED PCBs are manufactured, you’re in the right place. Understanding the LED PCB manufacturing process is crucial for anyone working with lighting solutions—from designers and engineers to buyers who want the best performance and longevity. These specialized circuit boards aren’t like regular PCBs; they require precision in materials, thermal management, and assembly to handle the demands of high-power LEDs. In this guide, we’ll break down the key materials, step-by-step production stages, and critical design considerations that make custom LED circuit PCB boards reliable and efficient. Ready to uncover what goes into crafting the backbone of modern LED lighting? Let’s get started.
What Is an LED PCB?
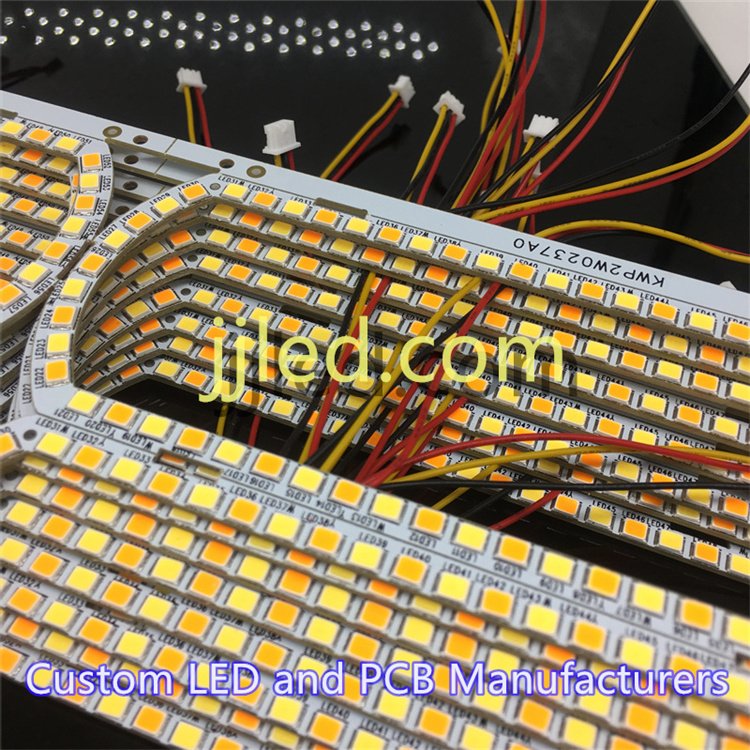
An LED PCB is a specialized type of circuit board designed specifically for mounting and powering light-emitting diodes (LEDs). Unlike standard PCBs, LED PCBs are built to handle the unique demands of LED technology, especially when it comes to managing heat. Because LEDs generate a significant amount of heat during operation, these boards focus heavily on thermal dissipation to keep the LEDs cool, ensuring efficiency and longer lifespan.
Key differences from regular PCBs include:
- Enhanced thermal management: Materials like aluminum or copper help spread and dissipate heat quickly.
- Robust substrate design: Supports high-power LED modules safely.
- Optimized layout: Designed to accommodate LED arrays with proper current flow and heat paths.
You’ll commonly find LED PCBs in:
- Lighting fixtures for homes and commercial buildings
- Automotive lighting such as headlights and indicators
- Digital displays including billboards and screens
- Consumer electronics like flashlights, TVs, and smart devices
In short, LED PCBs form the backbone of modern lighting and display technology, combining electrical performance with essential heat control to keep LEDs bright and reliable.
Types of LED PCBs
When it comes to LED PCBs, the material and design make a big difference in performance and use. Here’s a quick look at the common types you’ll find:
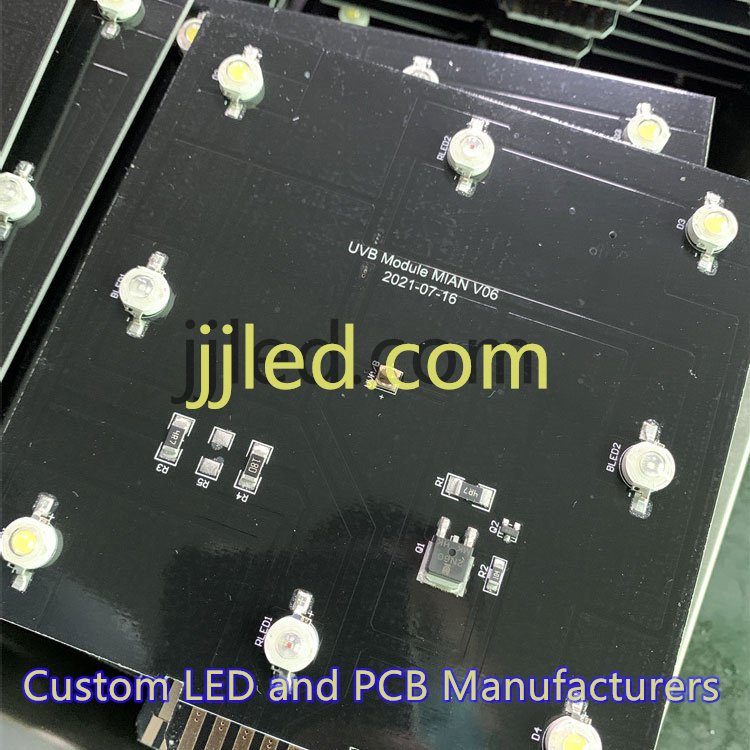
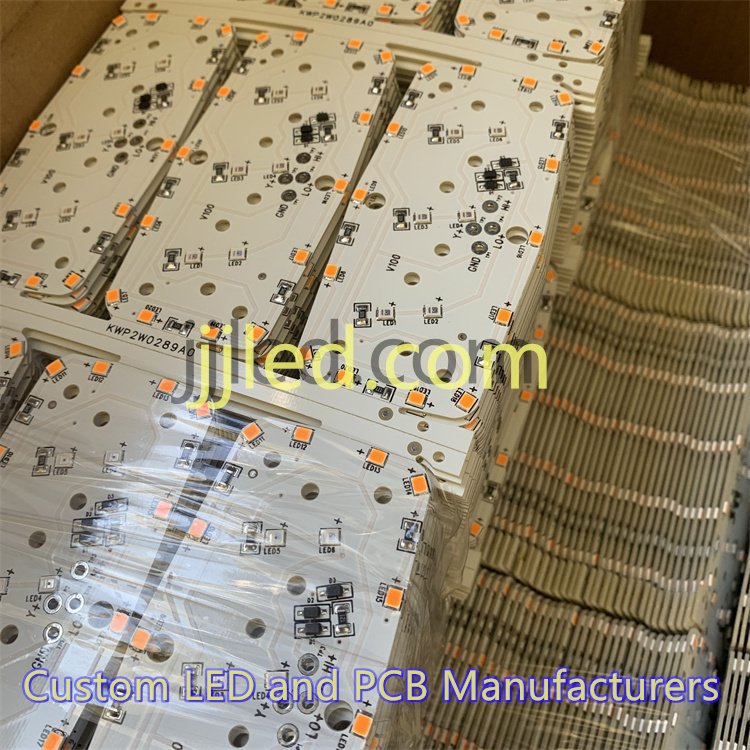
- Aluminum-Based (MCPCB): The most popular choice, especially for high-power LEDs. Aluminum helps manage heat well, keeping LEDs cool and extending their lifespan.
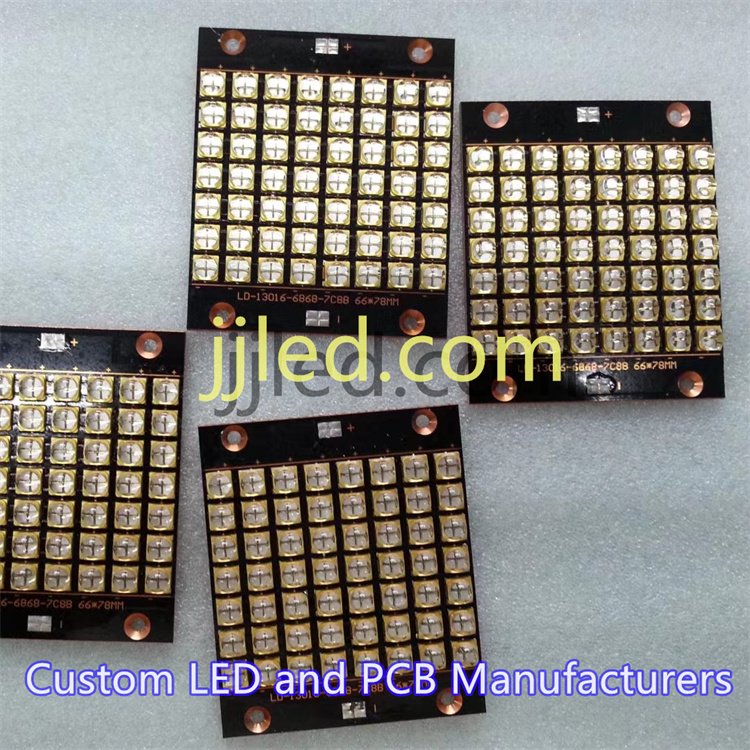
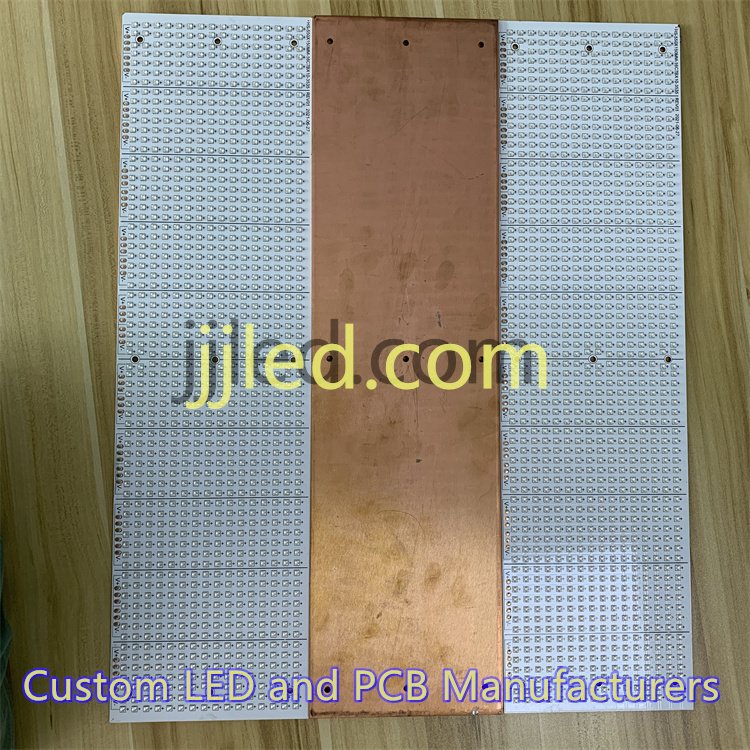
- Copper-Based: Offers even better heat transfer than aluminum, ideal for demanding applications where managing temperature is critical.
- FR4: A cost-effective option for low-power LED setups, but not as good at heat dissipation as metal-based boards.
- Ceramic: High-end option with excellent thermal and electrical performance. Great for specialized, high-performance LED designs.
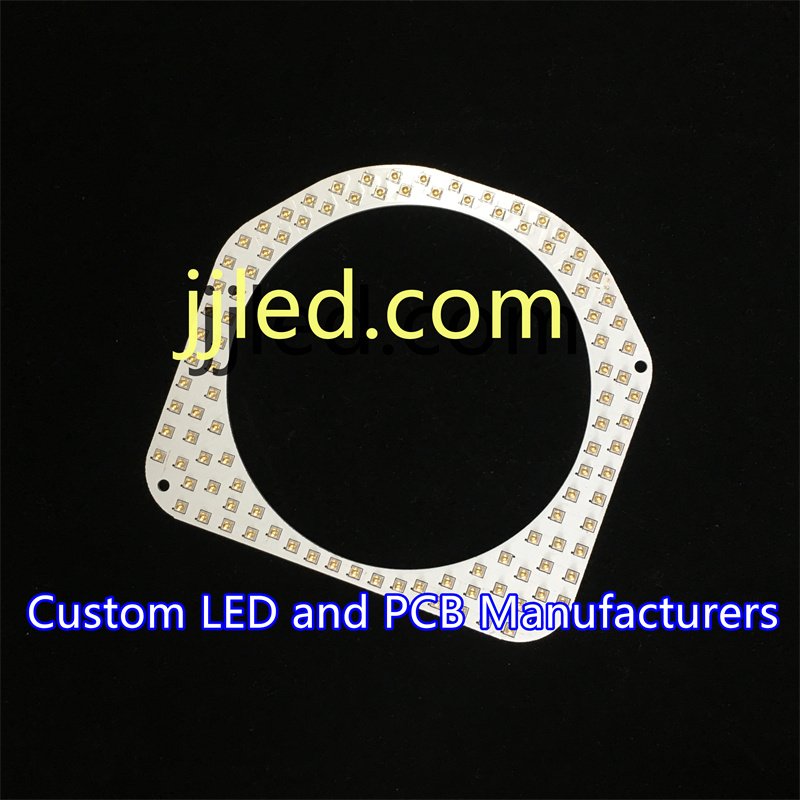
- Flexible and Hybrid PCBs: Made for curved or specialized lighting designs where flexibility is needed, like wearable tech or custom shapes.
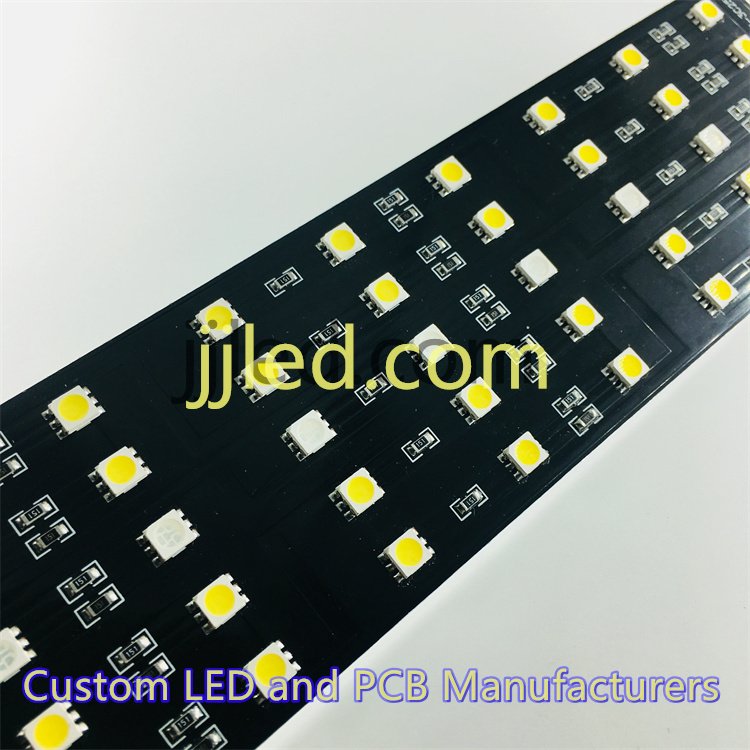
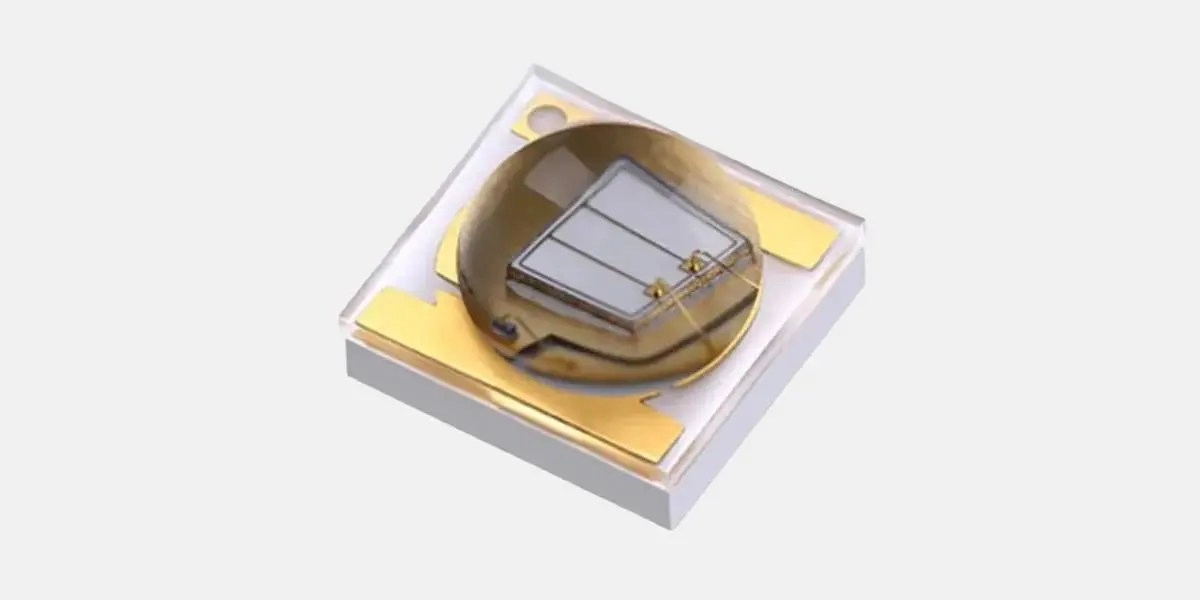
- SMD vs. COB LED PCBs: SMD (Surface-Mount Device) PCBs have LEDs mounted as separate components, allowing flexibility and repair. COB (Chip-On-Board) PCBs involve directly bonding LED chips onto the board, which saves space and improves thermal efficiency but is less flexible for repairs.
Choosing the right type depends on your project’s power needs, cooling requirements, and design complexity.
Materials Used in LED PCB Manufacturing
When it comes to LED PCB manufacturing, the choice of materials plays a big role in how well the board performs, especially in heat management and durability.
- Base substrates: Most LED PCBs use materials like aluminum and copper because they handle heat better than standard boards. Aluminum is common for metal core PCBs (MCPCBs) due to its balance of cost and heat dissipation. Copper offers even better thermal transfer but can be pricier. Ceramic substrates provide excellent thermal and electrical performance for high-end LEDs, while FR4 is used for low-power LED circuits where cost is a priority.
- Dielectric layers: These are the insulating layers between the base and copper traces. For LED PCBs, they need to be thermally conductive to help move heat away from the LED chips quickly.
- Copper foils: The thickness and weight of copper layers affect current capacity and heat spreading. Thicker copper improves power handling but can increase manufacturing costs.
- Solder mask and surface finishes: These protect the circuit from corrosion and help during soldering. Finishes like HASL (Hot Air Solder Leveling) or ENIG (Electroless Nickel Immersion Gold) are common, ensuring reliable solder joints and long-lasting boards.
Choosing the right materials is crucial because LED PCBs generate significant heat. Good thermal conductivity keeps LEDs cool, improving performance and lifespan. Plus, durable materials ensure your LED lighting solutions hold up over time, whether for automotive, industrial, or consumer electronics applications.
Step-by-Step LED PCB Manufacturing Process
Making LED PCBs involves several clear steps to ensure quality and performance, especially for heat-sensitive LED components. Here’s a simple breakdown of the LED PCB manufacturing process:
1. Design and Layout
We start with software tools to create the circuit schematics, layout thermal vias, and plan trace routing. This is critical to ensure proper electrical flow and efficient heat dissipation.
2. Material Preparation
Next, the chosen substrate material (like aluminum or copper) is cut to size and thoroughly cleaned. Clean surfaces are essential for good adhesion and plating.
3. Inner Layer Processing (for multilayer PCBs)
For multilayer LED PCBs, inner layers are imaged with the circuit pattern using photoresist, then etched to remove unwanted copper. These layers are then laminated together under heat and pressure.
4. Drilling and Plating
Holes for vias and component mounting are drilled precisely. After drilling, copper plating coats the hole walls, allowing electrical connections between layers and secure mounting points.
5. Outer Layer Imaging and Etching
The outer circuit patterns are applied using a similar imaging and etching process, forming the visible traces and pads where components will be soldered.
6. Solder Mask Application
A solder mask layer is applied to protect the board and prevent shorts. It covers most surfaces but leaves pads and thermal areas exposed for soldering.
7. Silkscreen and Surface Finish
Silkscreen printing adds labels, logos, and markings. Then, surface finishes like HASL (Hot Air Solder Leveling) or ENIG (Electroless Nickel Immersion Gold) are applied to improve solderability and protect exposed copper.
8. Routing and Profiling
Boards are cut and shaped into their final dimensions. The edges are smoothed for handling and assembly readiness.
9. Electrical Testing and Inspection
Finally, each LED PCB undergoes rigorous electrical tests to check for shorts, opens, and overall functionality. Visual inspection ensures there are no defects or inconsistencies.
This step-by-step process ensures LED PCBs meet strict requirements for thermal management and reliability in LED lighting, automotive, and display applications.
LED PCB Assembly Process
Assembling LED PCBs involves precise steps to ensure quality and performance. Here’s how it goes:
- SMD Assembly: This is the most common method. First, solder paste is printed onto the PCB pads. Then, surface-mount components like LEDs and resistors are placed accurately using pick-and-place machines. After that, the board goes through reflow soldering, where heat melts the solder paste, securing components firmly.
- COB Assembly: Chip-on-Board (COB) is used for high-power LEDs. The LED chip is directly bonded onto the PCB, either by wire bonding or flip-chip methods. After bonding, the chip is encapsulated with resin or silicone to protect it and improve light output.
- Through-Hole vs. Surface-Mount: While most LED PCBs use surface-mount devices (SMD) for compactness, some still require through-hole components for durability or higher power handling.
- Thermal Control in Reflow: Managing heat during reflow soldering is critical. LED PCBs need controlled temperatures to avoid damaging sensitive components and to maintain heat dissipation properties.
- Final Inspection: After assembly, each board undergoes thorough testing. Automated Optical Inspection (AOI) checks for soldering defects and component placement. Functional testing ensures the LEDs light up correctly and perform as expected.
This assembly process guarantees durable, high-efficiency LED PCBs suitable for diverse global applications.
Key Design and Manufacturing Considerations for LED PCBs
When designing and making LED PCBs, there are some important factors to keep in mind to ensure your boards work well and last long.
Thermal Management
Heat is the biggest enemy for LED PCBs. Using thermal vias, good heat sinks, and choosing the right substrate (like aluminum or ceramic) helps pull heat away from the LEDs. This keeps the LEDs cool and extends their lifetime.
Power Handling and Current Distribution
LEDs need even current to avoid hotspots or failures. Designing proper trace widths and layout for current distribution ensures each LED gets the right power without stress.
Cost Factors
Your budget will affect the material and design choices. Higher volume production reduces cost per board, but:
- More layers mean higher price.
- Choosing materials like aluminum or ceramic costs more but boosts performance.
- Simple FR4 boards work for low-power LEDs, cutting costs.
Common Challenges
Some typical issues in LED PCB manufacturing include:
- Heat dissipation failures causing LED damage.
- Soldering defects, like cold joints or bridging, lowering reliability.
- Longevity problems if materials and design don’t handle operating conditions well.
Best Practices for Custom LED PCB Designs
- Select the right substrate based on power and environment.
- Add plenty of thermal vias around LED pads.
- Optimize layouts for smooth current flow.
- Consider surface finishes that improve solderability and durability.
- Plan for easy assembly methods like SMD or COB based on your product needs.
By focusing on these points, your custom LED circuit PCB boards can deliver strong performance, handle heat properly, and offer a longer service life—key for satisfying end users worldwide.
Advantages of Professional LED PCB Manufacturing
Choosing professional LED PCB manufacturing brings clear benefits you’ll notice in the long run:
- Reliable Performance: Expert-made LED PCBs handle heat and power better, ensuring your LEDs run smoothly without overheating or failing early.
- Consistent Quality: Professional processes meet strict quality standards and certifications, so you get boards that work right the first time, every time.
- Custom Options: Need special sizes, shapes, or materials? Pro manufacturers offer tailored solutions that fit your exact project, from flexible LEDs to high-power circuits.
- Better Durability: With the right materials and skilled assembly, these PCBs resist wear and deliver longer lifespans, reducing replacements and downtime.
- Improved Thermal Management: Experienced makers optimize thermal vias and metal cores for efficient heat dissipation, vital for high-performance LED lighting.
Working with a trusted LED PCB manufacturer means fewer headaches and more reliable results, helping your product shine in any global market.
Choosing a Reliable LED PCB Manufacturer
Picking the right LED PCB manufacturer is a game-changer for your project. Here’s what to check:
| Key Factors | What to Look For |
|---|---|
| Experience | Years making LED PCBs, proven track record |
| Capabilities | Support for aluminum, copper, flexible PCBs, and advanced finishing |
| One-stop services | From design and prototyping to assembly and testing |
| Customization options | Ability to handle custom LED circuit PCB board designs |
| Quality standards | Certifications like ISO, RoHS compliance |
| Technical support | Responsive help with design and troubleshooting |
Why Partner With Specialists?
- Better quality: Experts know how to optimize thermal management and durability.
- Faster turnaround: Streamlined process from design to delivery.
- Reduced errors: Skilled assembly methods like SMD and COB ensure fewer defects.
- Cost efficiency: Save money by avoiding costly redesigns or failures.
- Tailored solutions: Custom LED PCBs built exactly to your needs.
Working with a reliable LED PCB manufacturer who understands your goals means your LED lighting projects, displays, or automotive solutions get the performance and lifespan you expect.
